
 1352
1352
This article assumes you have been upgraded to our new stand-alone eFaxing solution for sending faxes. If you are unsure if you have been upgraded, please contact CallHarbor Support, including:
- Your Name
- Your Company Name
- Your Fax Number
- Contact Types
- Access Contacts
- Add Contact
- Edit Contact
- Delete Contact
- Import Contacts
- Export Contacts
Accessing the Fax Portal
1. Go to fax.callharbor.com
2. Enter your username and password.
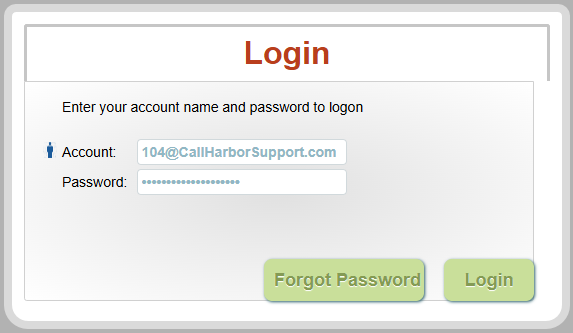
3. Click Login.
4. You will be brought to the send fax screen.
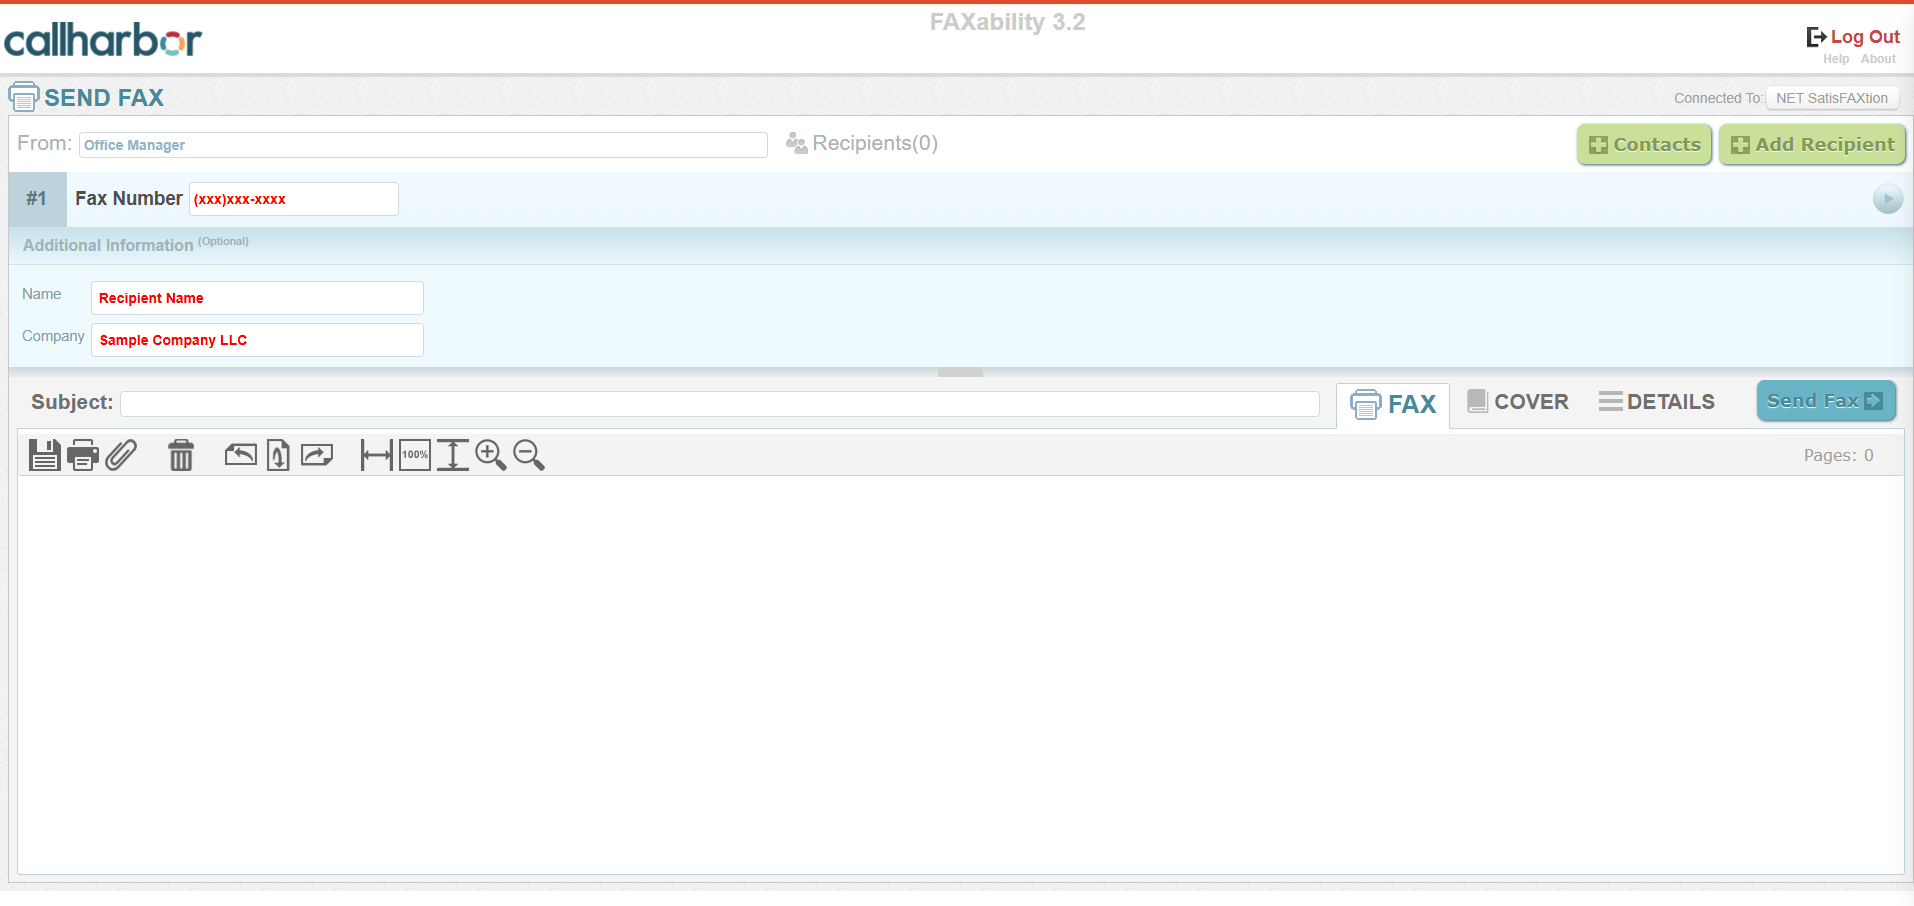
Send a Fax
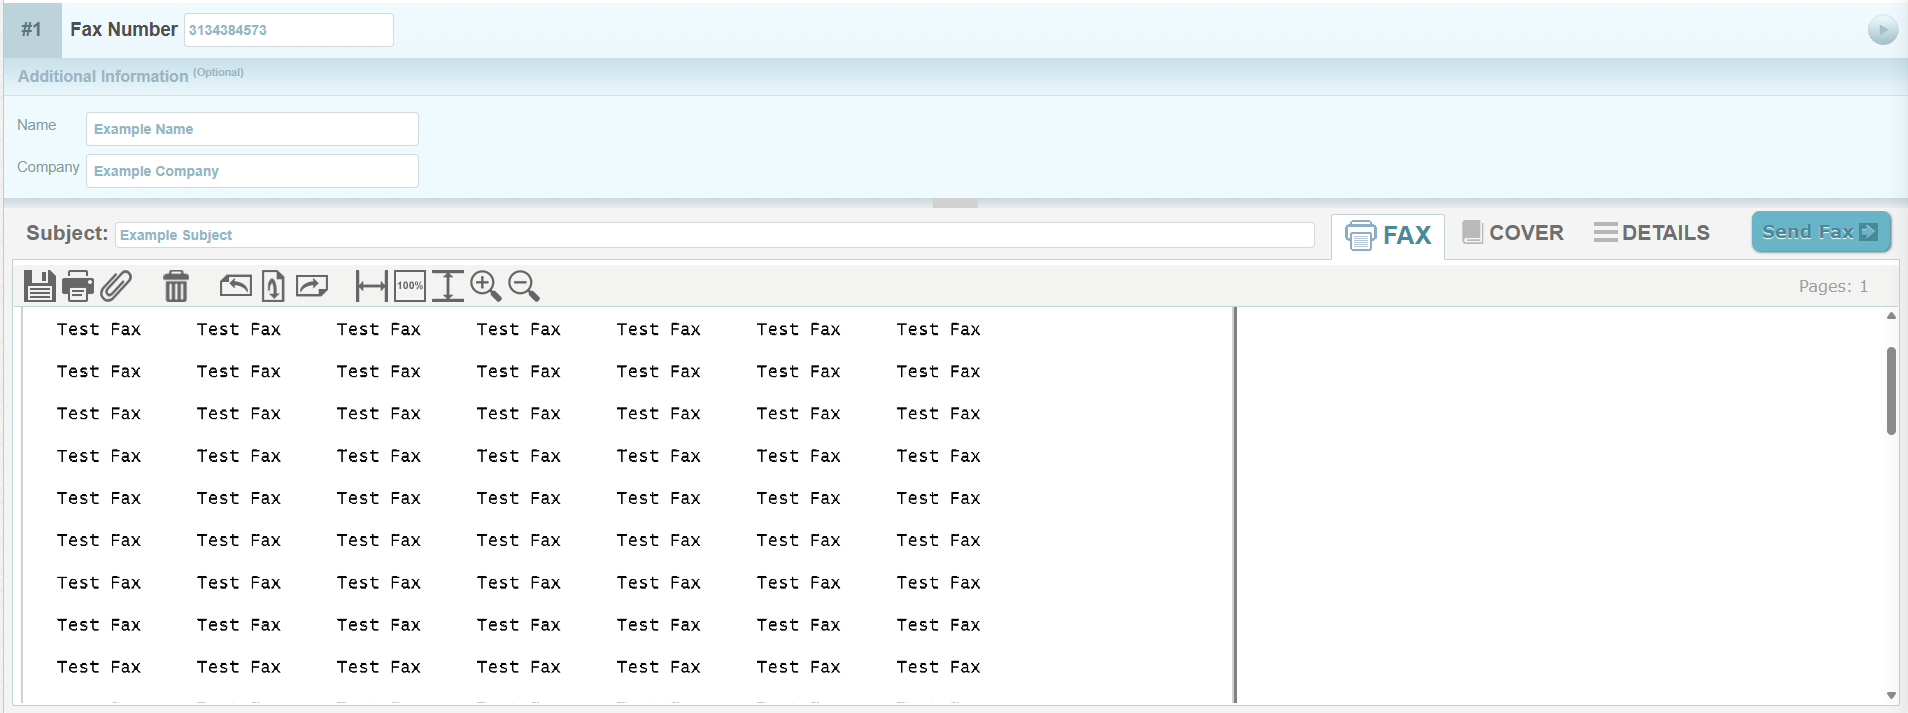
1. Enter the Fax Number you are sending to.

Steps 2 - 6 are to Add a Cover Letter. If you do not wish to add a cover letter, please skip to Step 7.
2. Enter the Recipient Name.

3. Enter the Company Name.

4. Enter the Subject.
5. Click Cover and enter any necessary notes.

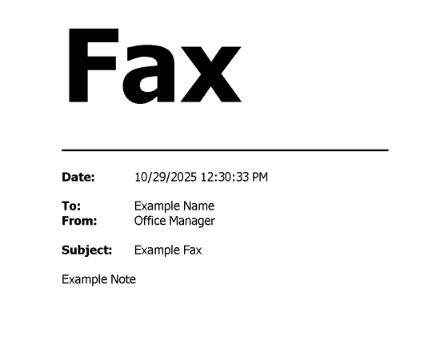
The Cover Letter will look like this:
6. Click Fax.

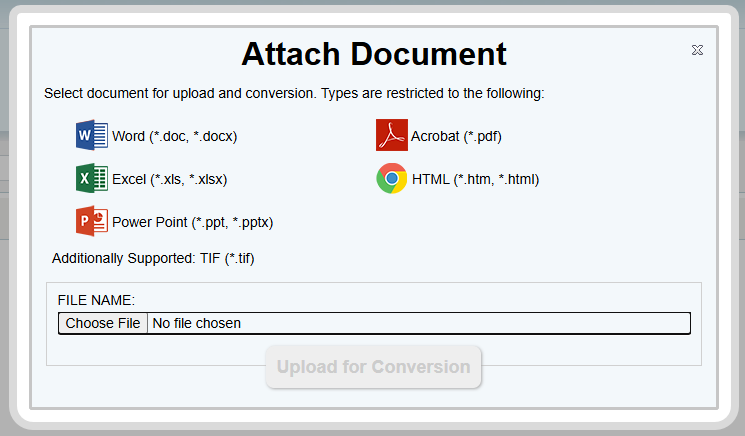
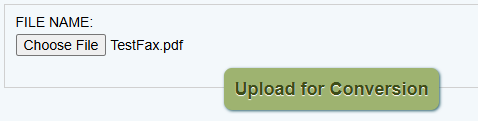
8. The Attach Document window will open. Click Choose File and select the file to be faxed.
Only one file can be uploaded at a time, but additional files can be uploaded.
9. Once the file is selected, click Upload for Conversion.
10. The file uploaded will be displayed in the fax tab.
11. Repeat Steps 7 - 10 for additional files to be included in the fax.
12. Click Send Fax.
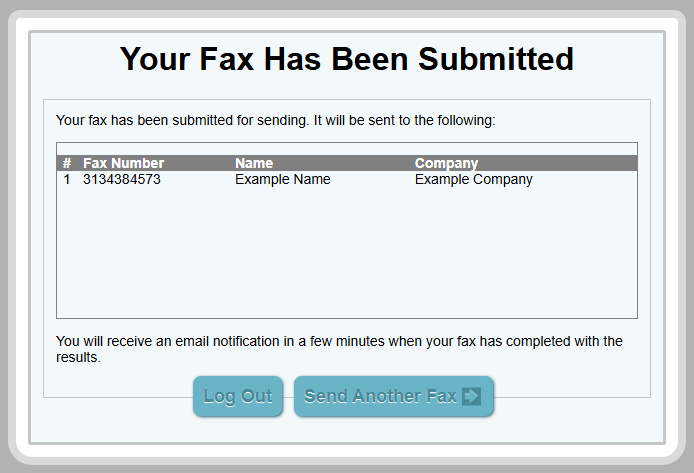
13. The fax will be submitted for sending.
If recipient information is included:
If no recipient information is included:
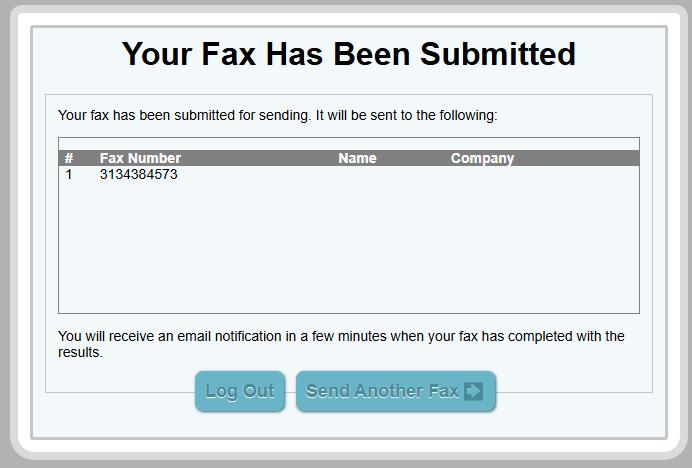
14. An email notification will be sent with the results of the fax (success or failure).
Send to Multiple Fax Numbers
If you are sending to multiple fax numbers, click Add Recipient.
![]()
This will create an additional field for another fax number to be entered. A Name and Company can be entered for additional recipients.

To remove a recipient, click the Trash Can.
![]()
Select a Contact as a Recipient
To learn more about contacts, please click here.
1. Click Contacts.

2. Select the contact(s) to send to by checking the check box.
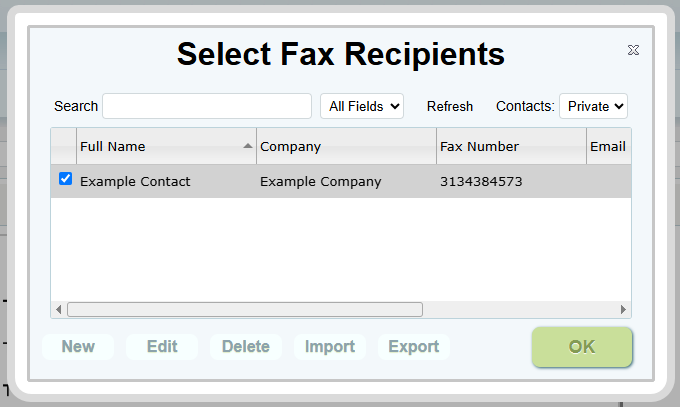
3. Click Ok.
![]()
4. The information for the contact will be supplied in the recipient fields.

Contacts
Recipients that are faxed repeatedly can be added as contacts.
Contact Types
There are two types of contacts:
- Private - available within your login only.
- Shared - available for all logins in your company.
Shared contacts can be added and edited by anyone, but only supervisors can remove shared contacts. To receive supervisor privileges for shared contacts, please contact CallHarbor Support, including:
- Your Name
- Your Company Name
- Your extension number
- All extensions that should have supervisor privileges
Access Contacts
1. Click the Contacts button.
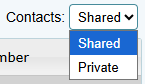
2. The Contacts window will open.
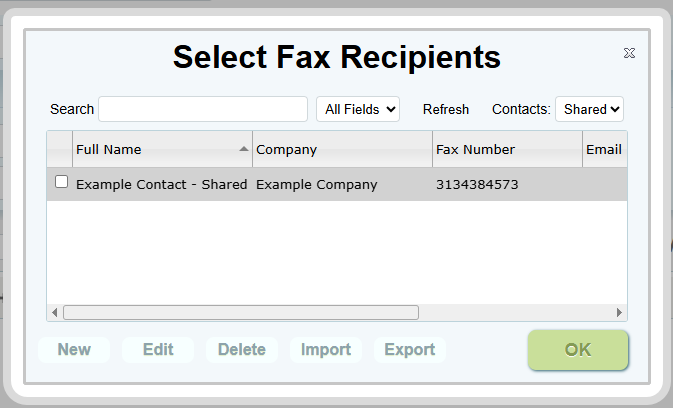
3. To switch between contact types, select the dropdown.
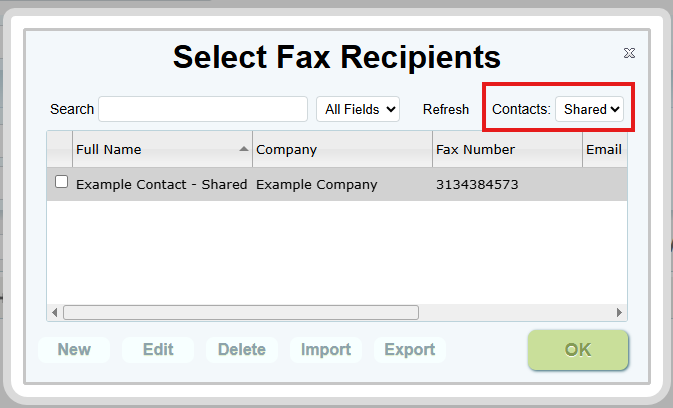
Select Shared or Private.
Add Contact
1. After accessing contacts, click the New button.
![]()
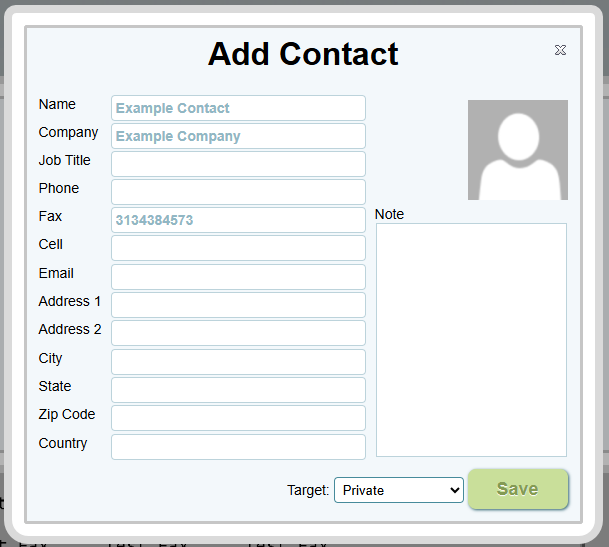
2. The Add Contact pop-up window will appear.
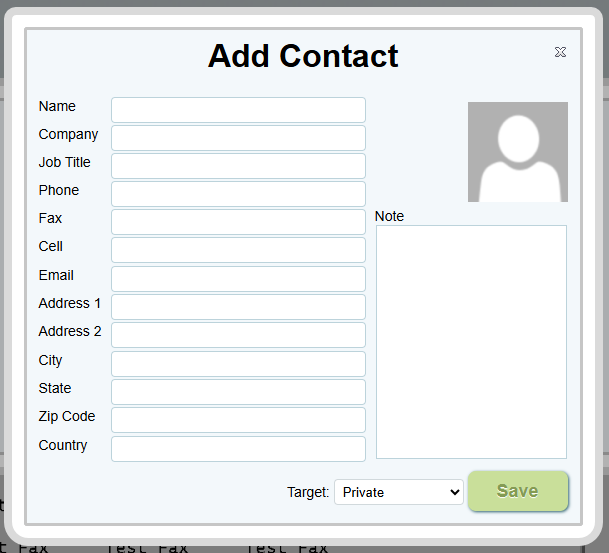
3. Enter all necessary information for the contact. Name and Fax number are required fields.
4. Select the Contact Type.
5. Click Save.
Edit Contact
1. After accessing contacts, select the contact to edit by checking the check box.
2. Cick the Edit button.
![]()
3. Update or add additional information as needed
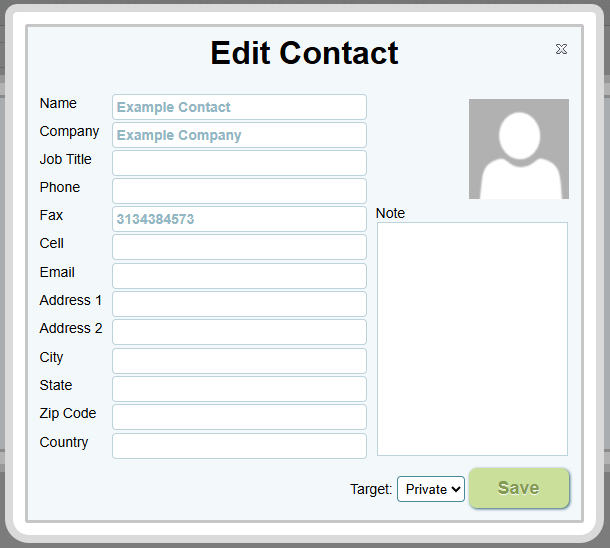
Please note: contact types cannot be updated. If a contact is created as private/shared and needs to be the other type, please recreate the contact with the correct type.
4. Click Save
Delete Contact
Private contacts can be deleted; however, shared contacts can only be deleted by users with supervisor privileges.
To receive supervisor privileges for shared contacts, please contact CallHarbor Support, including:
- Your Name
- Your Company Name
- Your extension number
- All extensions that should have supervisor privileges
1. After accessing contacts, select the contact to edit by checking the check box.
2. Click the Delete button.
![]()
3. Confirm the deletion.
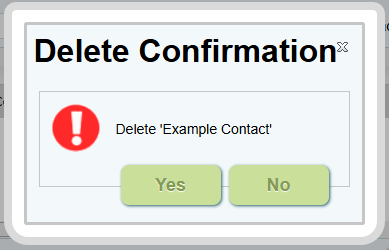
If you receive the following error, you are trying to delete a shared contact without supervisor privileges. Please contact CallHarbor Support if you should have supervisor privileges.

Import Contacts
1. Contacts must be imported using the format of the fax portal. Please download the Fax Contact Import Template located at the right-hand side of this article.

2. Enter the contact information to be imported. Leave ContactID, Domain Guid, and OwnerGuid blank.
Contact Type:
Private - 0
Shared - 1

3. After completing the import sheet, click the Import button.
![]()
4. The Import Contacts pop-up window will open.
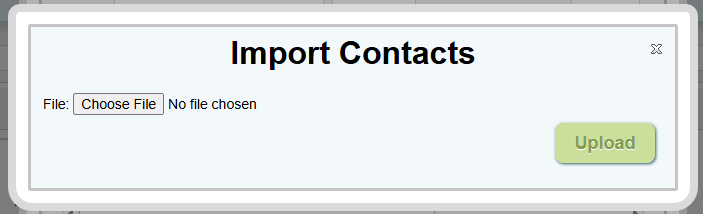
5. Click Choose File. Select the edited template file.
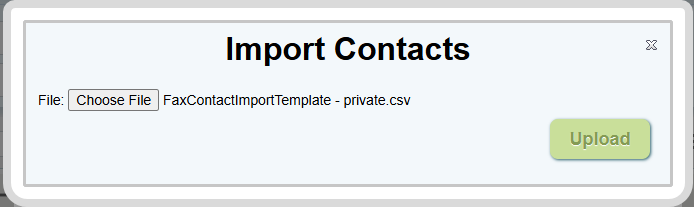
6. Click Upload.

7. The contacts to be imported will be displayed. Ensure the headers match the dropdowns.
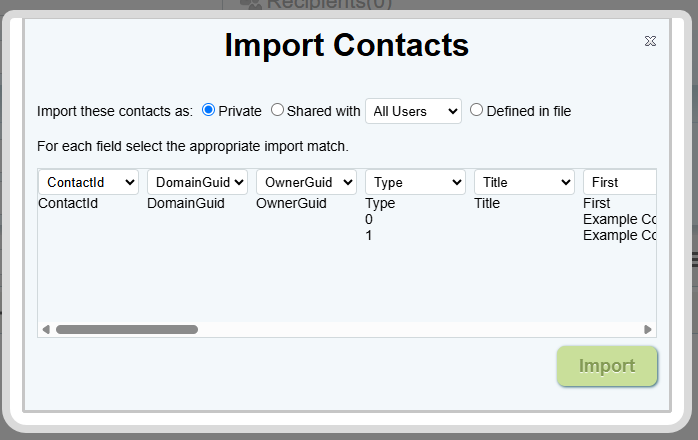
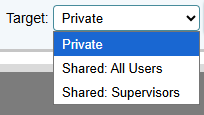
8. Select the contact type for the import.
![]()
- If all contacts will be added to your user only, select Private
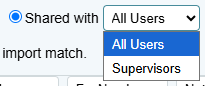
- If all contacts will be added to all users, select Shared with and update the dropdown if necessary
- If contacts are mixed, and the type is included in the sheet, select Defined in File
-
Private - 0
-
Shared - 1
-
9. Click Import.
10. A message will display of the import results.
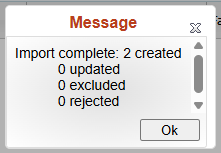
11. Click refresh if you do not see the contacts.
![]()
Export Contacts
1. Select the contact type to download by clicking the dropdown.
Select Shared or Private.
2. Click the export button. A .csv file will download of all contacts
![]()
Received Faxes
The fax.callharbor.com portal is a send-only portal. Faxes will be received by the CallHarbor Manager Portal. If you do not know your login name or password, please click here or contact CallHarbor Support.
1. Select the Fax tab

If you are a Call Center Supervisor or higher, you may need to switch the view of the portal from the entire phone system to your extension only. To do this, click on your name in the upper right-hand corner, then select My Account

2. By default you will be brought to the Inbox folder
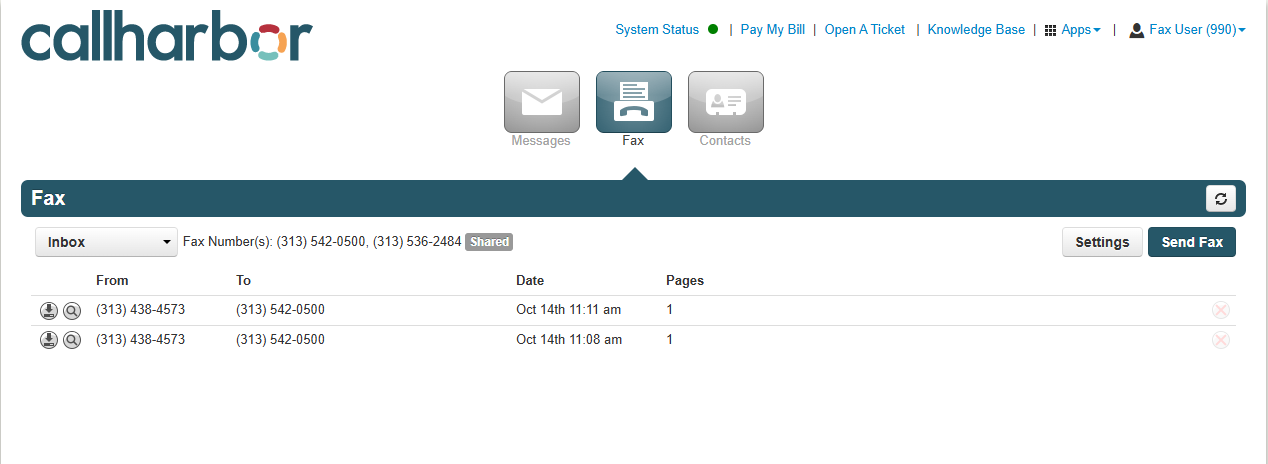
Inbox
All faxes that have been received by your user will be displayed in the Inbox

The From is the fax number that sent the fax, and the To is the fax number that received the fax. The To column will appear even if only 1 fax number is assigned to your user
![]()
The Date and Time the fax was received will be included, as well as the total number of pages in the fax

Fax Action Icons
Preview the Fax
![]()
Clicking the magnify glass will show a small preview of the fax, this is to help ensure you are downloading the correct fax


Download the Fax
![]()
Clicking on the down arrow icon will download a copy of the fax to your computer
Delete the Fax
![]()
Clicking on the X icon will delete the fax from the system. Please note, this action is not reversible. If a fax is deleted from the system, CallHarbor cannot retrieve the fax.

